Dissent: Pullover Hack


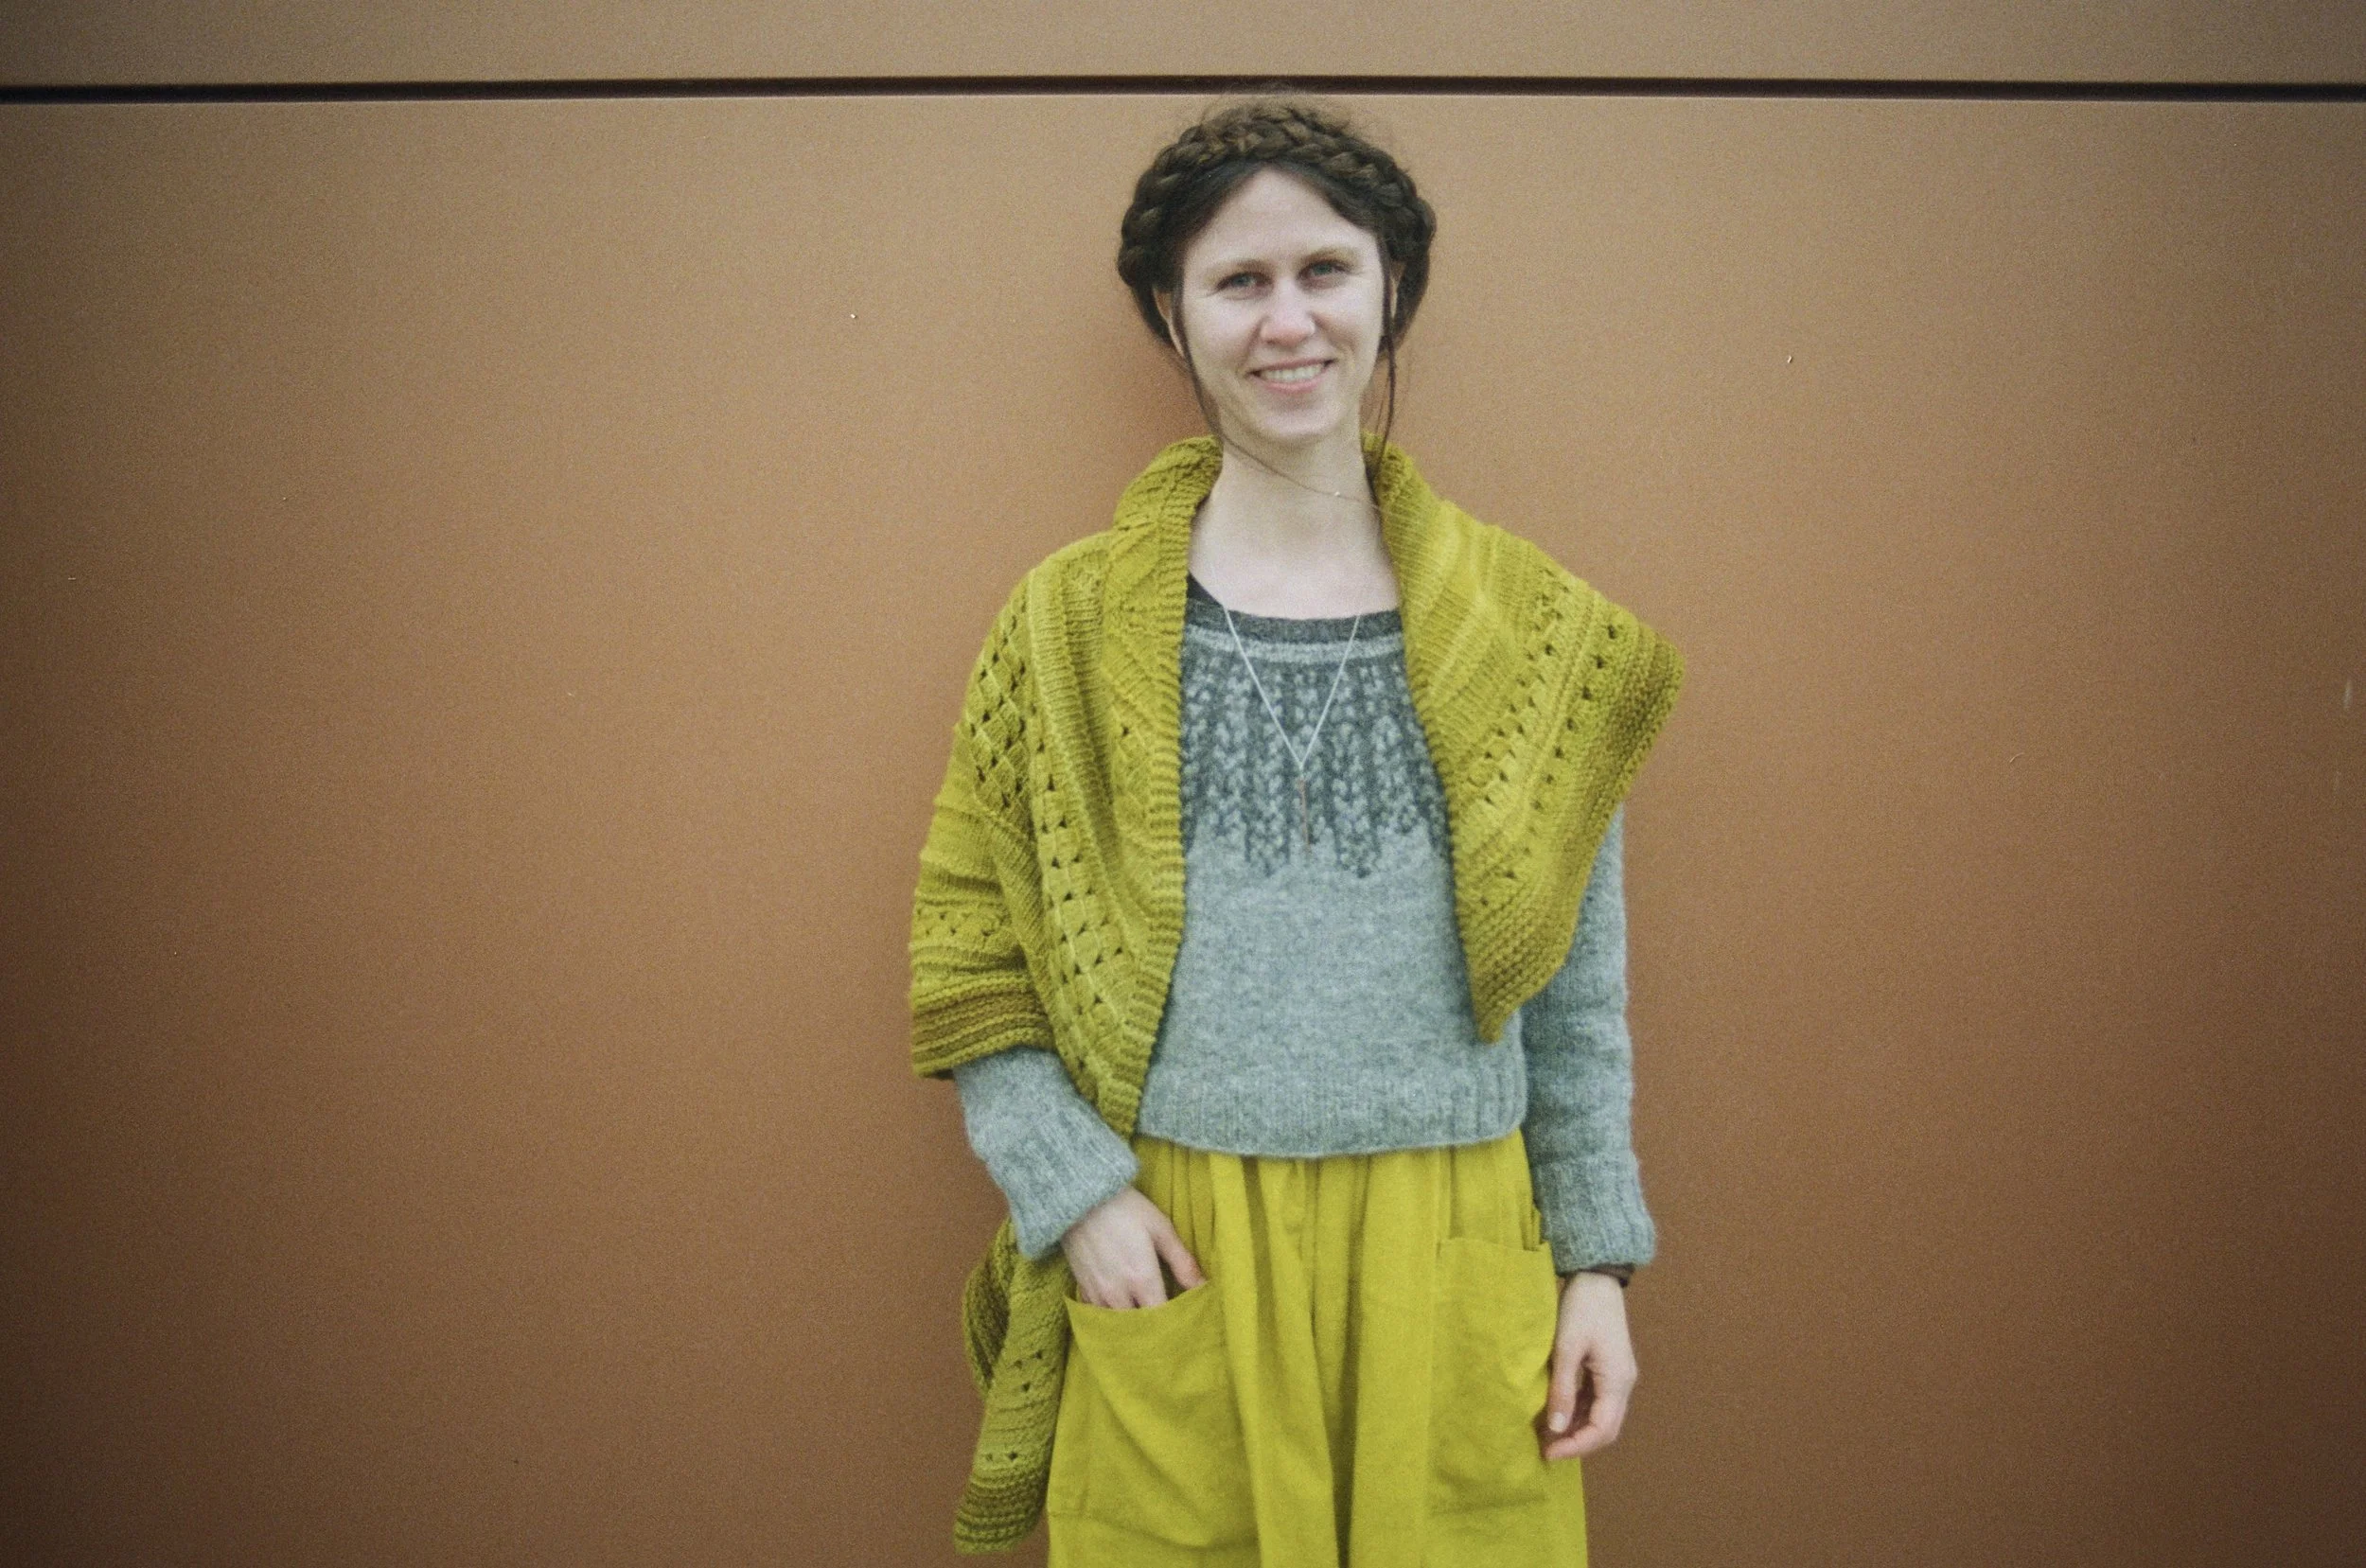
As soon as I finished my first Dissent sample, I knew I wanted a pullover that had a really different feel to it. Here’s a pullover hack to use with the pattern. I made mine over-sized and cropped to wear with dresses and I love how it came out. The yarn is Daughter of a Shepherd Ram Jam that I bought at A Verb for Keeping Warm in Oakland.
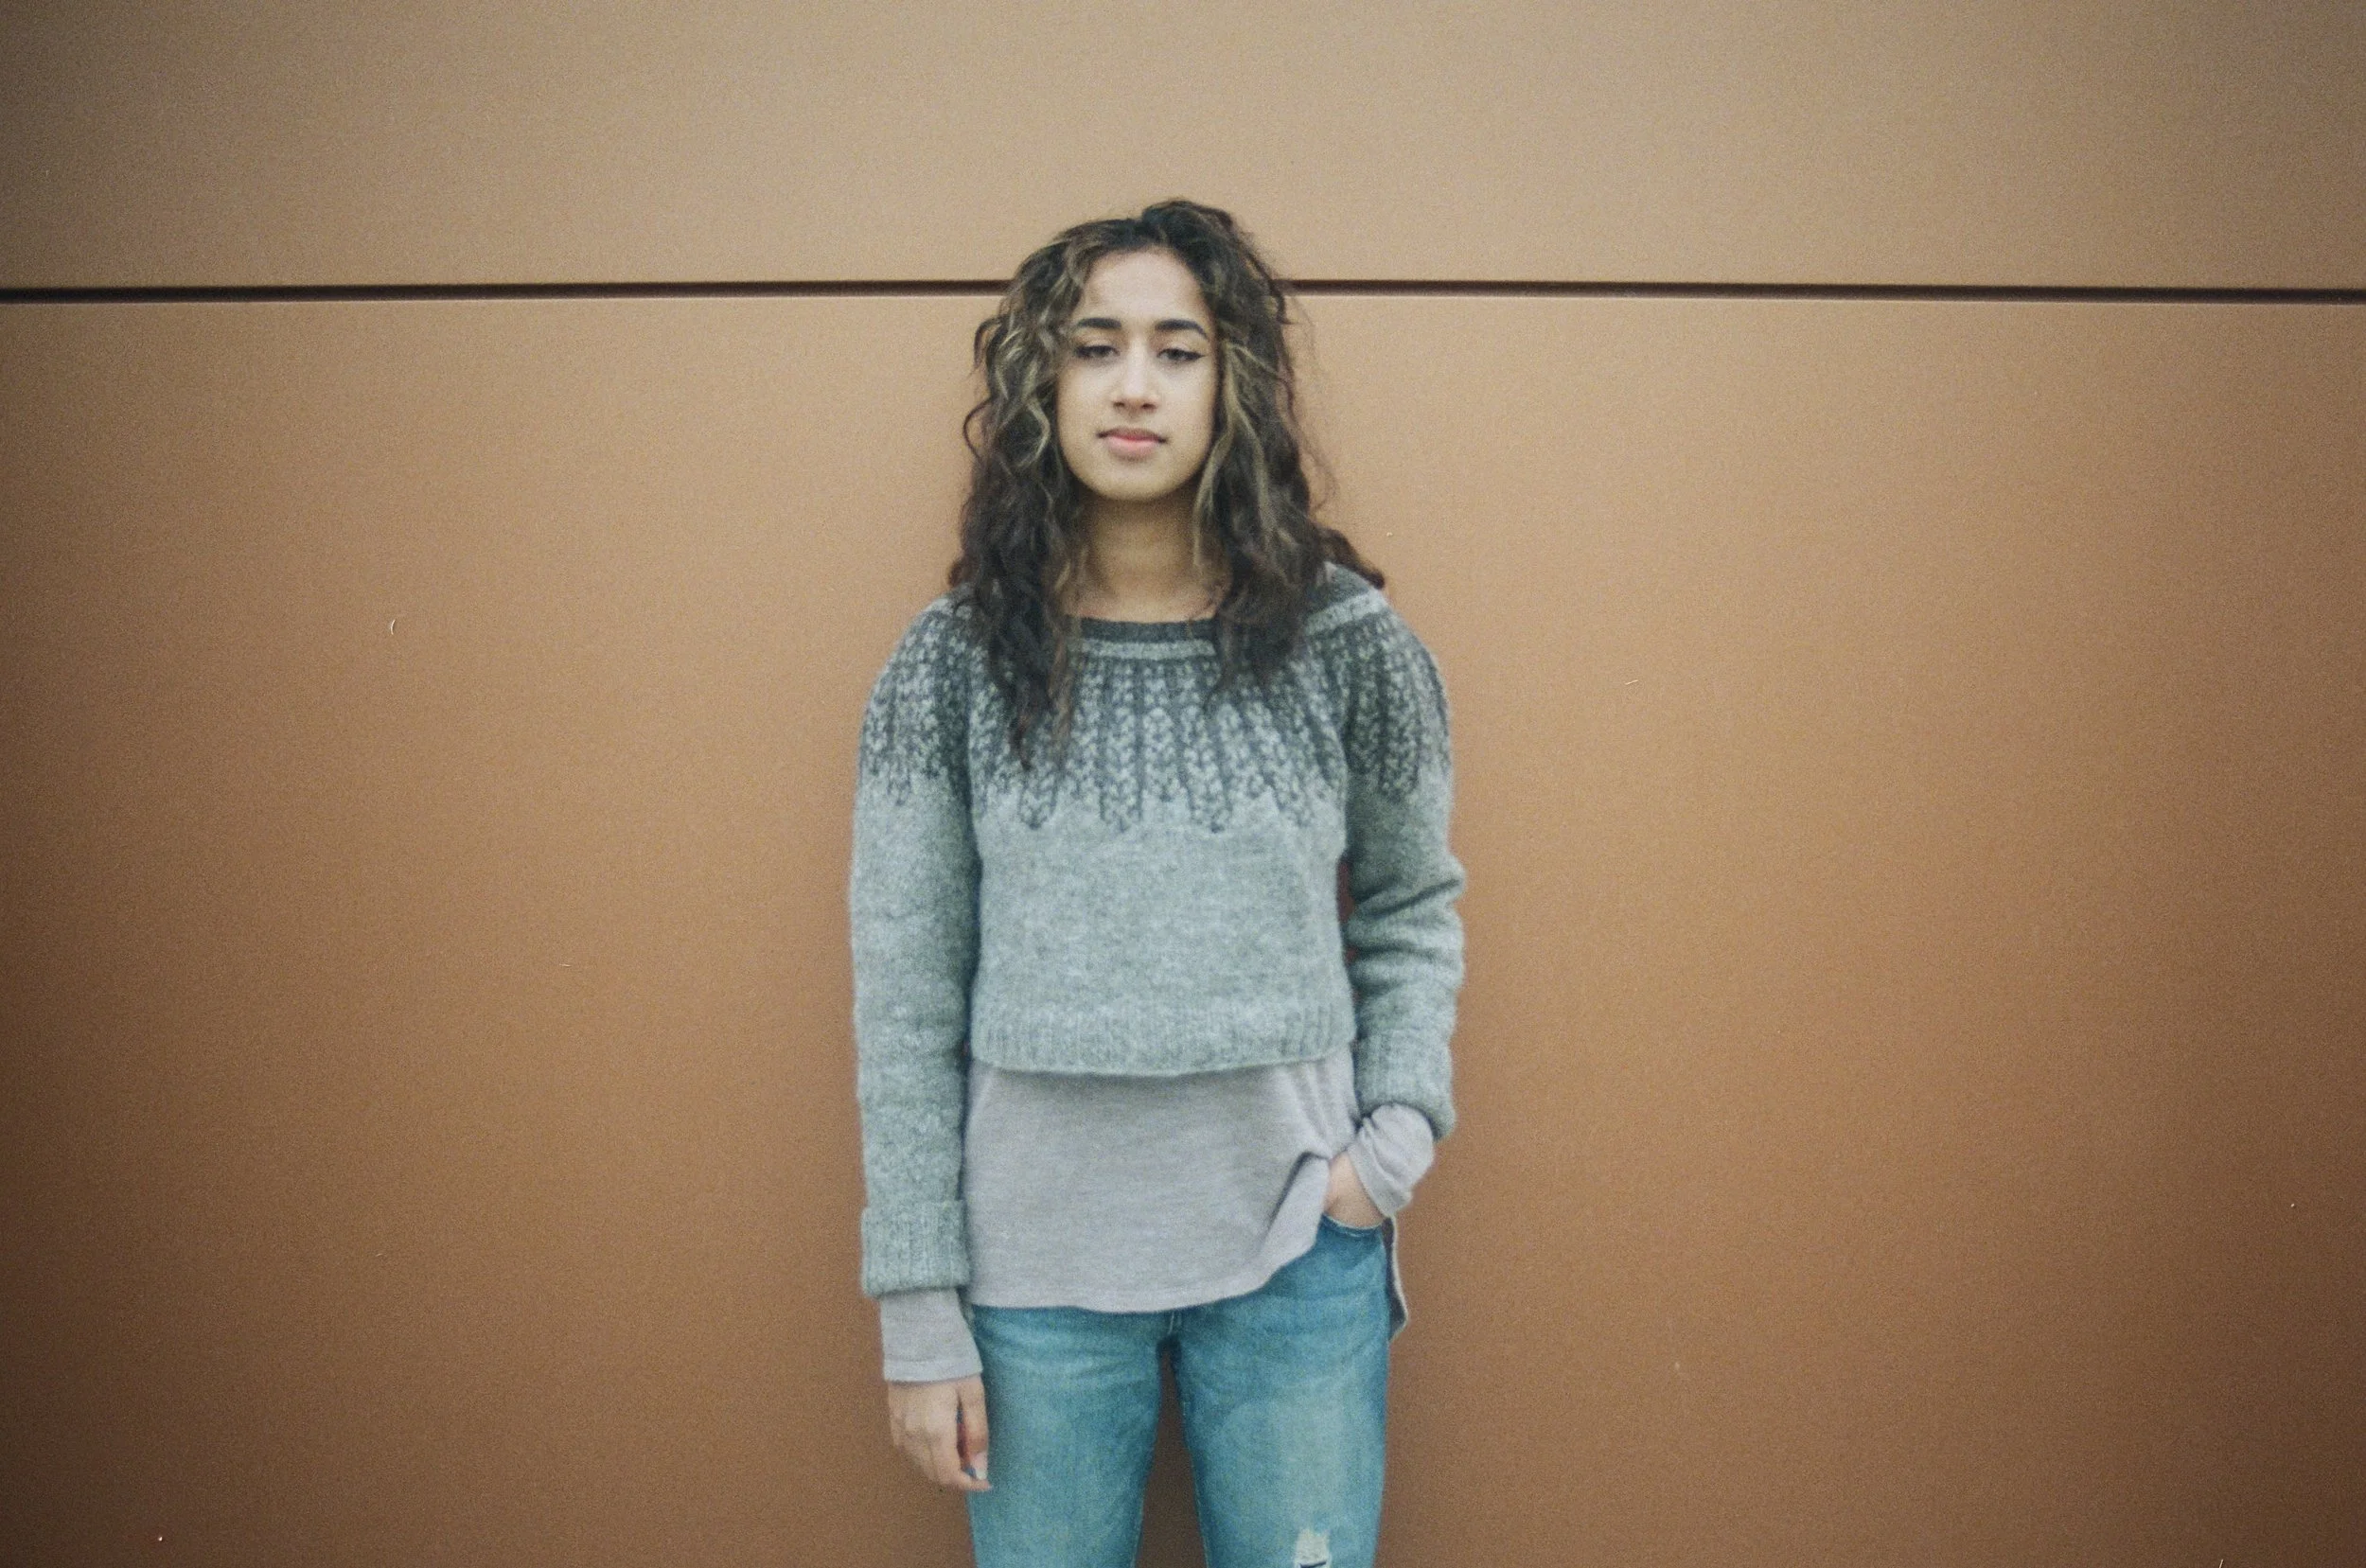

Here’s how it looks on a model, Parm, and on me. This is a 40.5 in/103 cm size modified to be a pullover. Parm, shown above, has a 38 in/96.5 cm bust circumference, so it’s got about +2.5 in/6.5 cm of positive ease on her.
I’ve got a 31 in/79 cm bust circumference, so that’s almost +10 inches of positive ease and I don’t recommend any more than that to avoid too-big shoulders.
To make the pullover, you’ll need the cardigan pattern. Below I’ll explain how to modify it to take out the steek and add in an extra half-motif.

So let’s get to it:
DISSENT PULLOVER HACK
To make Dissent into a pullover, you’ll need to make a few important changes:
1) The beginning-of-round should be at the centre back rather than centre front.
2) Remove the 5-stitch steek panel. (Subtract 5 from the CO number.)
3) Add 3 stitches in order to have one more half-motif for symmetry.
4) Make sure to cast on a multiple of 4 for the neck band ribbing.
There’s a lot of math here, so I suggest getting it all figured out before you cast on.
Cast On
To figure out your cast-on number, start by subtracting 2 from the CO number for your size in the pattern. (Doing this takes away the five-stitch steek panel and adds three for the extra half motif.) If the resulting number isn’t an exact multiple of 4, round down to the closest 4.
For example, I want to make the size 40.5, which calls for casting on 107. My math was 107 - 2 = 105. I rounded 105 down to the nearest multiple of 4, 104. My CO number is 104. (This is skipping ahead a bit, but in order to get that one stitch back (105 - 104 = 1), I’ll just increase one extra in the first increase round. For the 40.5” size, I’ll increase 34 instead of 33.)
Neck Band Ribbing
Once you’ve cast on, work 2x2 rib as written, but omit the steek panel and finish on “p2” instead of “k2". Your beginning-of-round marker is at the centre back.
Short Row Shaping
It’s important that the deepest part of your short row shaping is at the centre back, so here’s how to do that when your marker is at the centre back.
Row 1: K22(22, 23, 23) [24, 25, 25, 26] (27, 27, 28), w&t
Row 2 (WS): P44(44, 46, 46) [48, 50, 50, 52] (54, 54, 56), working past beginning-of-round m, w&t
Continue Rows 3 and 4 as in the pattern.
Shape Yoke
Remember to add in any stitches that weren’t in your initial cast-on number because you rounded down to a multiple of 4. In the case of the 40.5 in/103 cm size, I’ll need to increase one extra — 34 instead of 33 — in order to get the desired number of stitches. After you finish the Increase Rounds, you should have the number of stitches listed in the pattern minus 2.
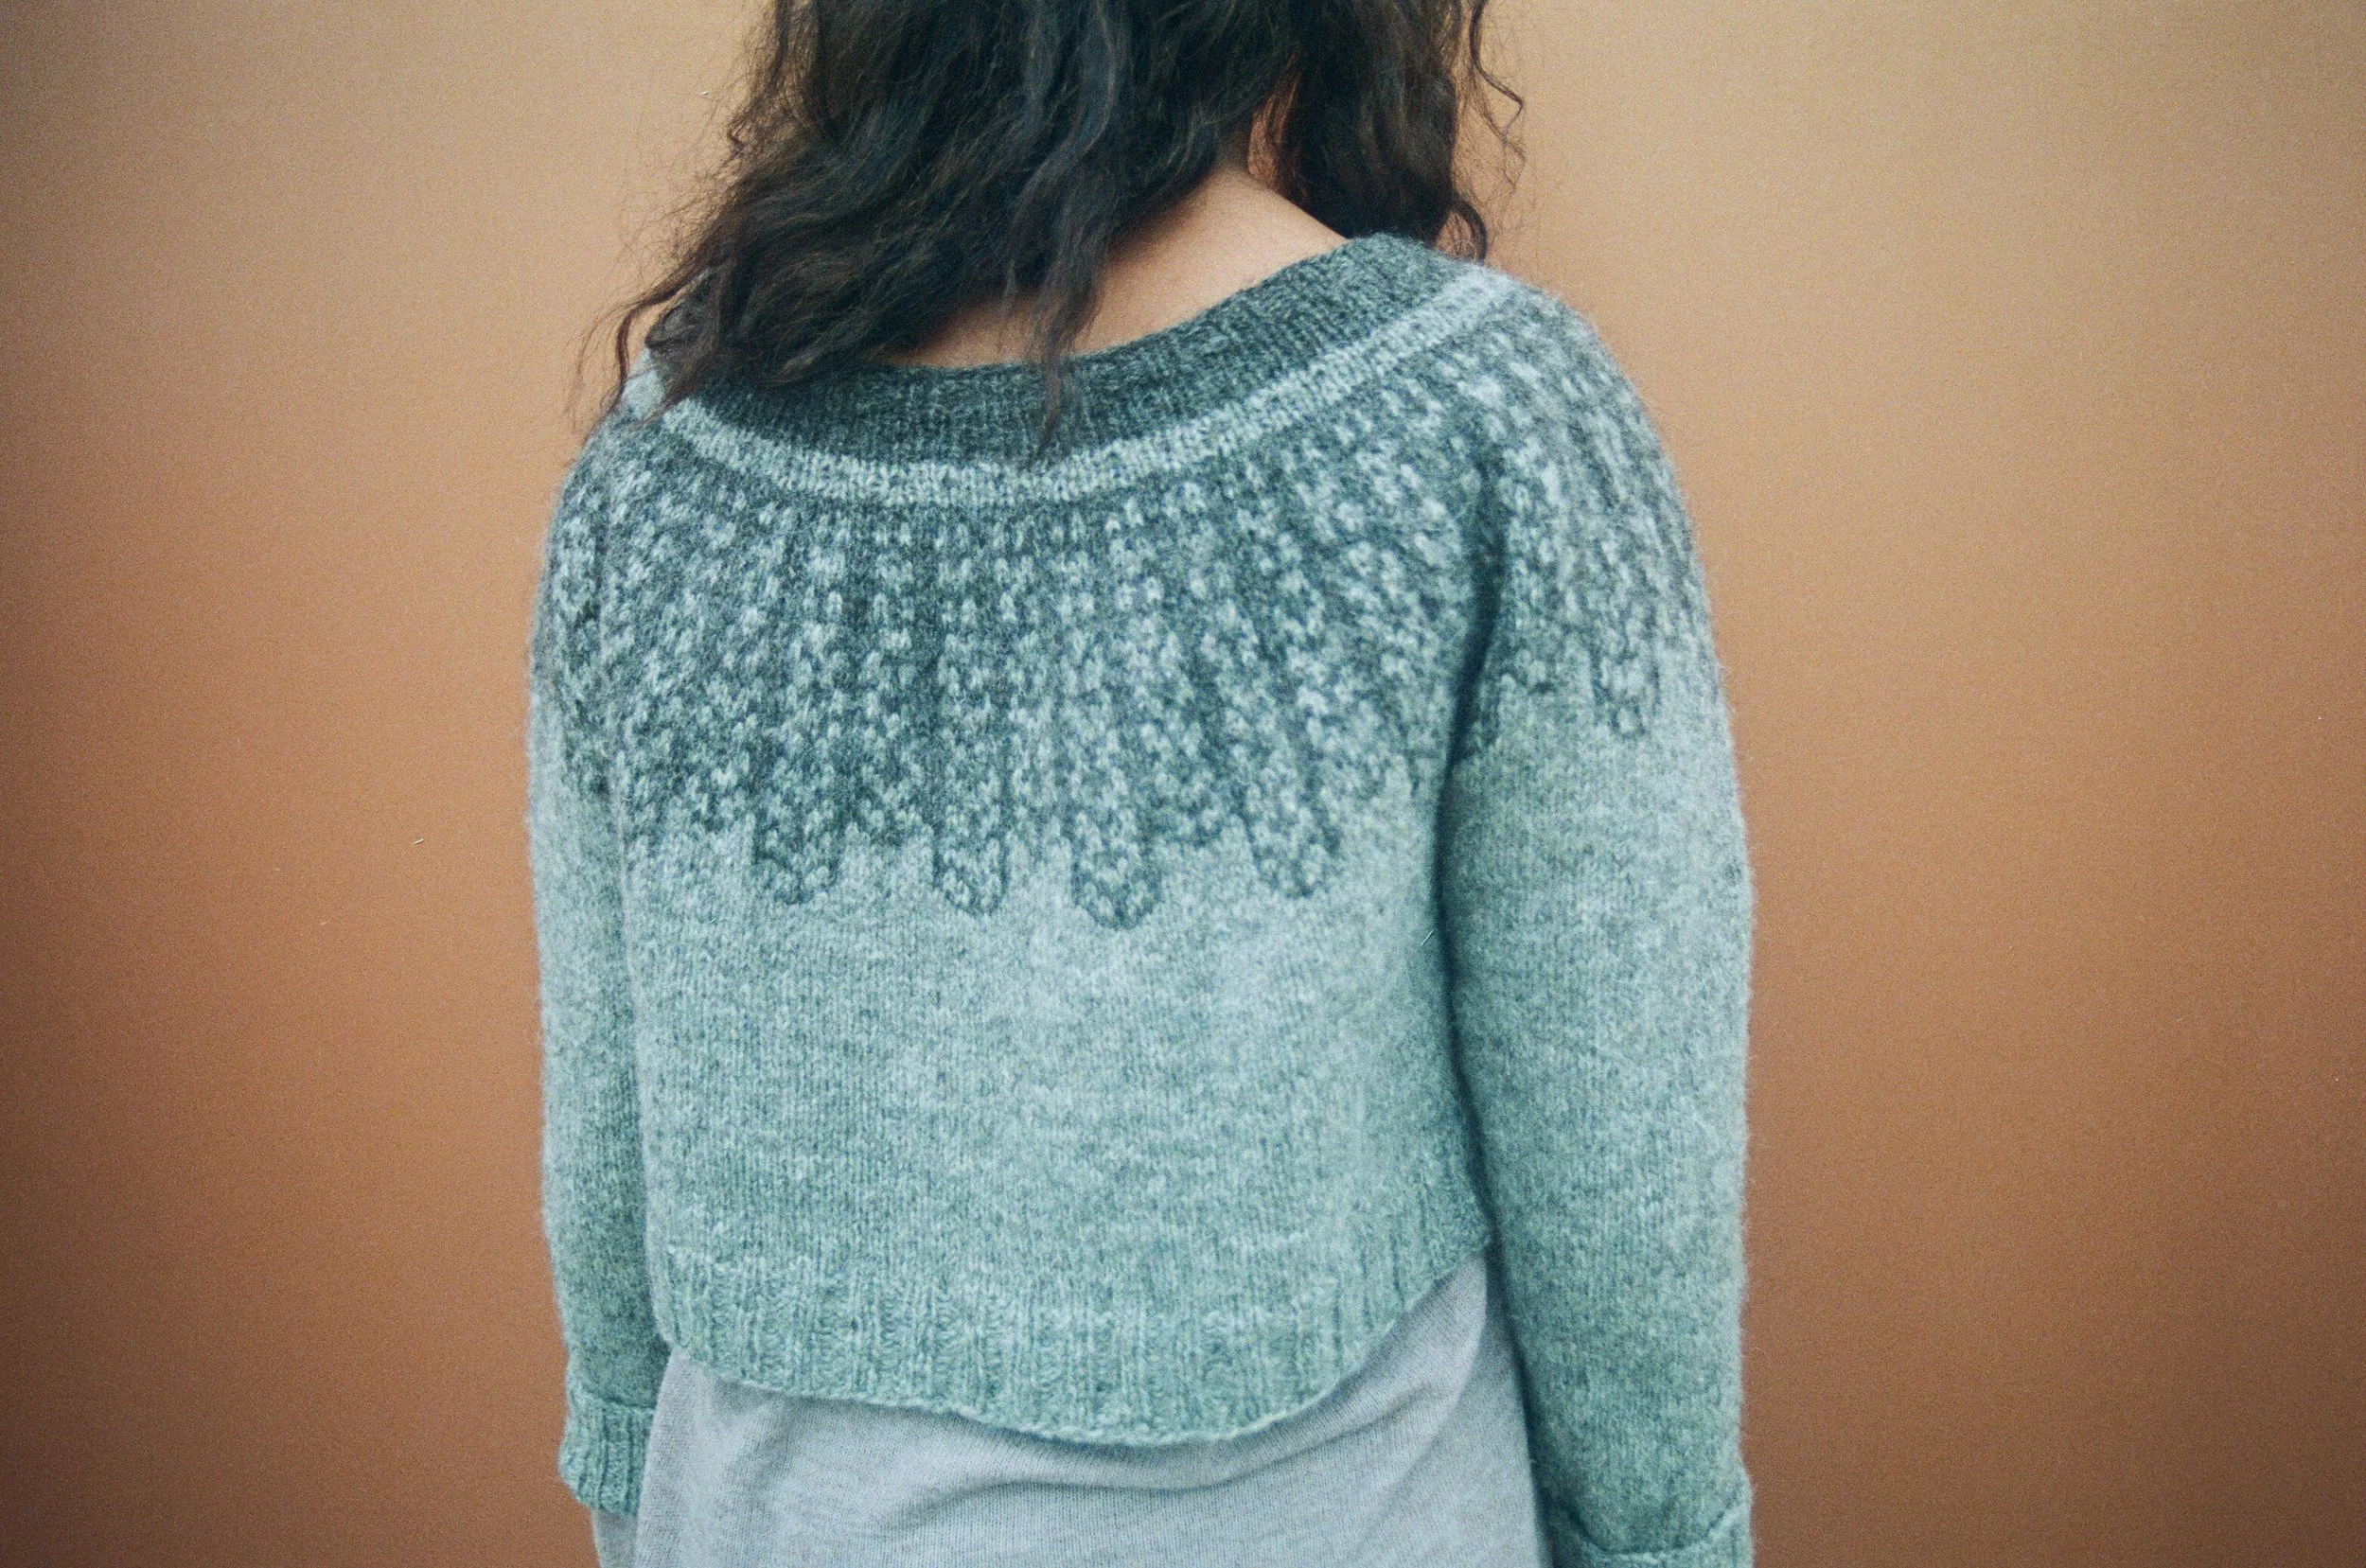
Colourwork
You can work the Yoke as written, except that you’ll work the 6-stitch pattern repeat one more time than listed, you don’t need to work the steek panel, and you don’t need to work stitches 1-3 for a half-motif like you would with the cardigan version. In the Final Increase Round before dividing the body and sleeves, you’ll need to increase 4 fewer than listed in the pattern because the additional half pattern repeat comes with 4 extra increases.
Divide for Body & Sleeves
Remember you’re starting at the centre Back. Look at the Dividing Round and knit across half the number of stitches indicated for the Back +1. The +1 is necessary because in the cardigan version, there’s a little adjustment due to the bands. (If the Back stitches is an odd number, subtract one before dividing by two so you’re starting with an even number. When you come back around, you’ll need to make sure you end with the correct number of stitches across the Back.)
Next place Sleeve stitches listed in the pattern for your size on waste yarn and cast on for the underarm. For the Front, work the total number of Back stitches (from the pattern) +1.
Place the second sleeve stitches on waste yarn, and cast on for the second underarm.
Work across the remaining Back stitches. You should now have the number of Back stitches listed in the pattern +1. This is also the same number of stitches you have for the Front.
When you rejoin for working in the round, you’ll have all your Body stitches in place. Your Body should have the stitch count listed in the pattern minus 2.
Hem
You’ll need a multiple of 4 stitches for the hem, so just decrease if needed to get to that. You may not be working the “Decrease 3 sts evenly” as written in the pattern.
Sleeves
Work the sleeves as given in the pattern.
Finishing
Just skip over the steeking and button band instructions, but be sure to weave in your ends and block to measurements for a beautiful finish!
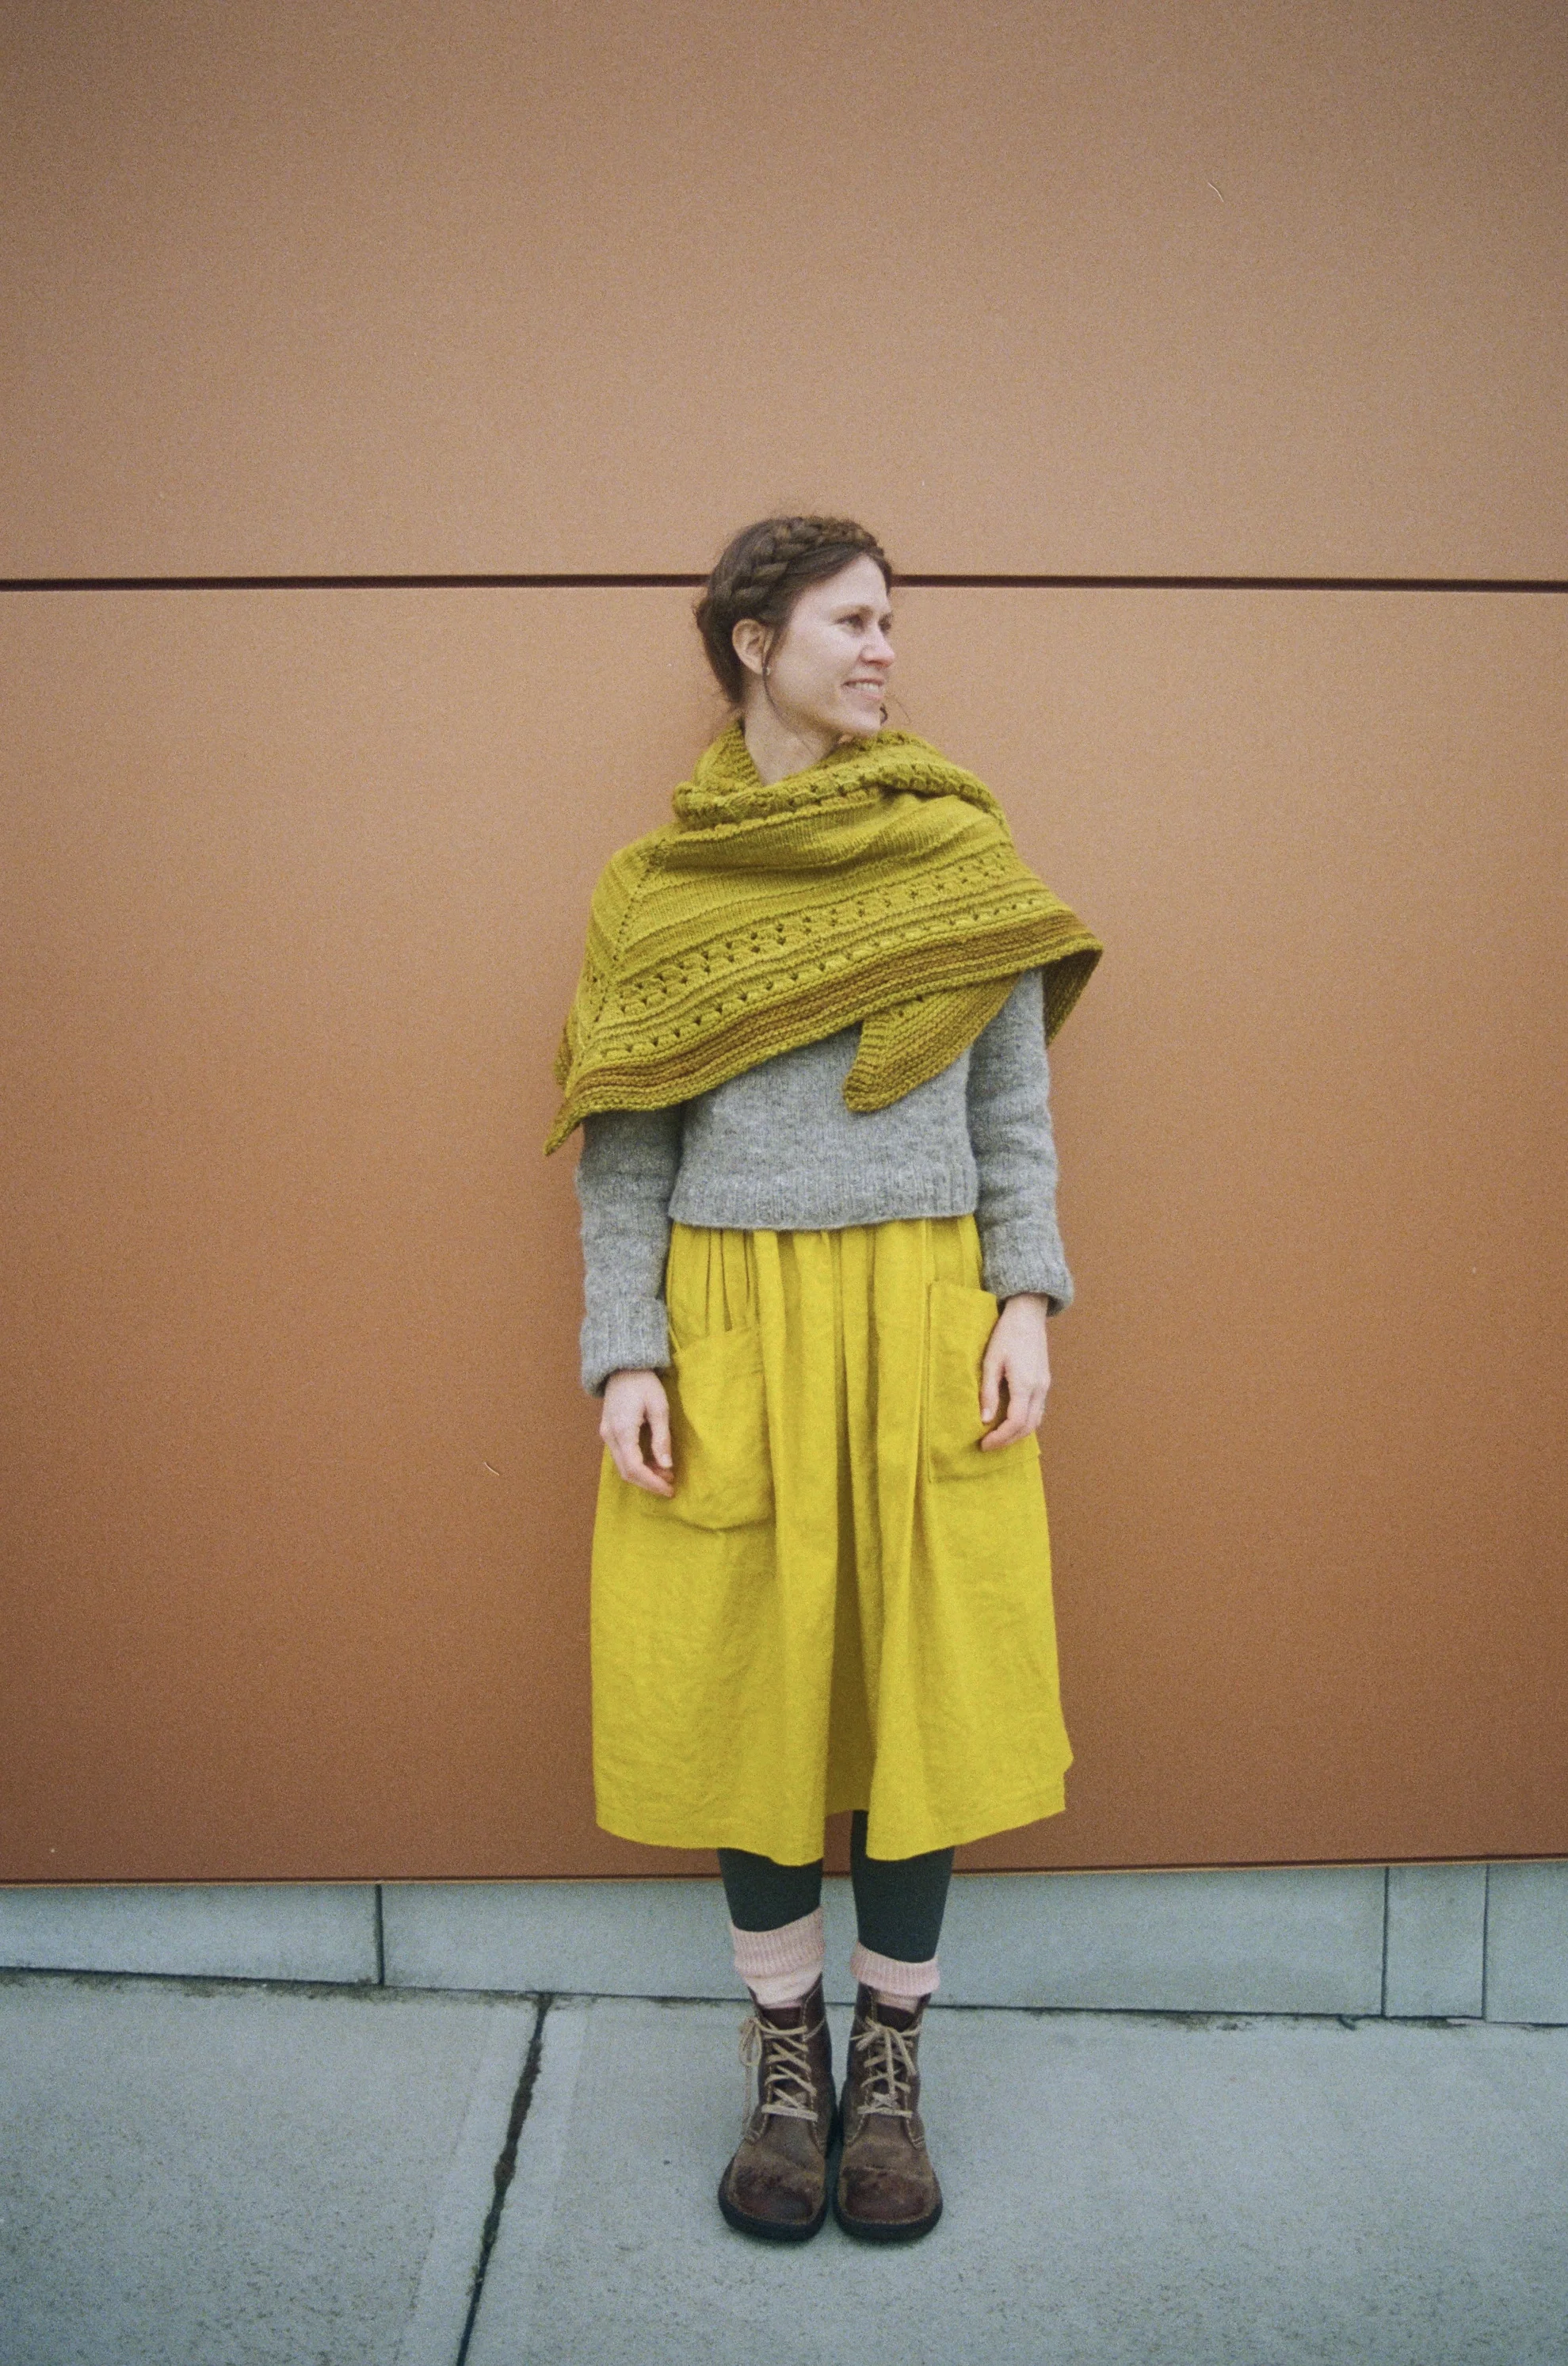
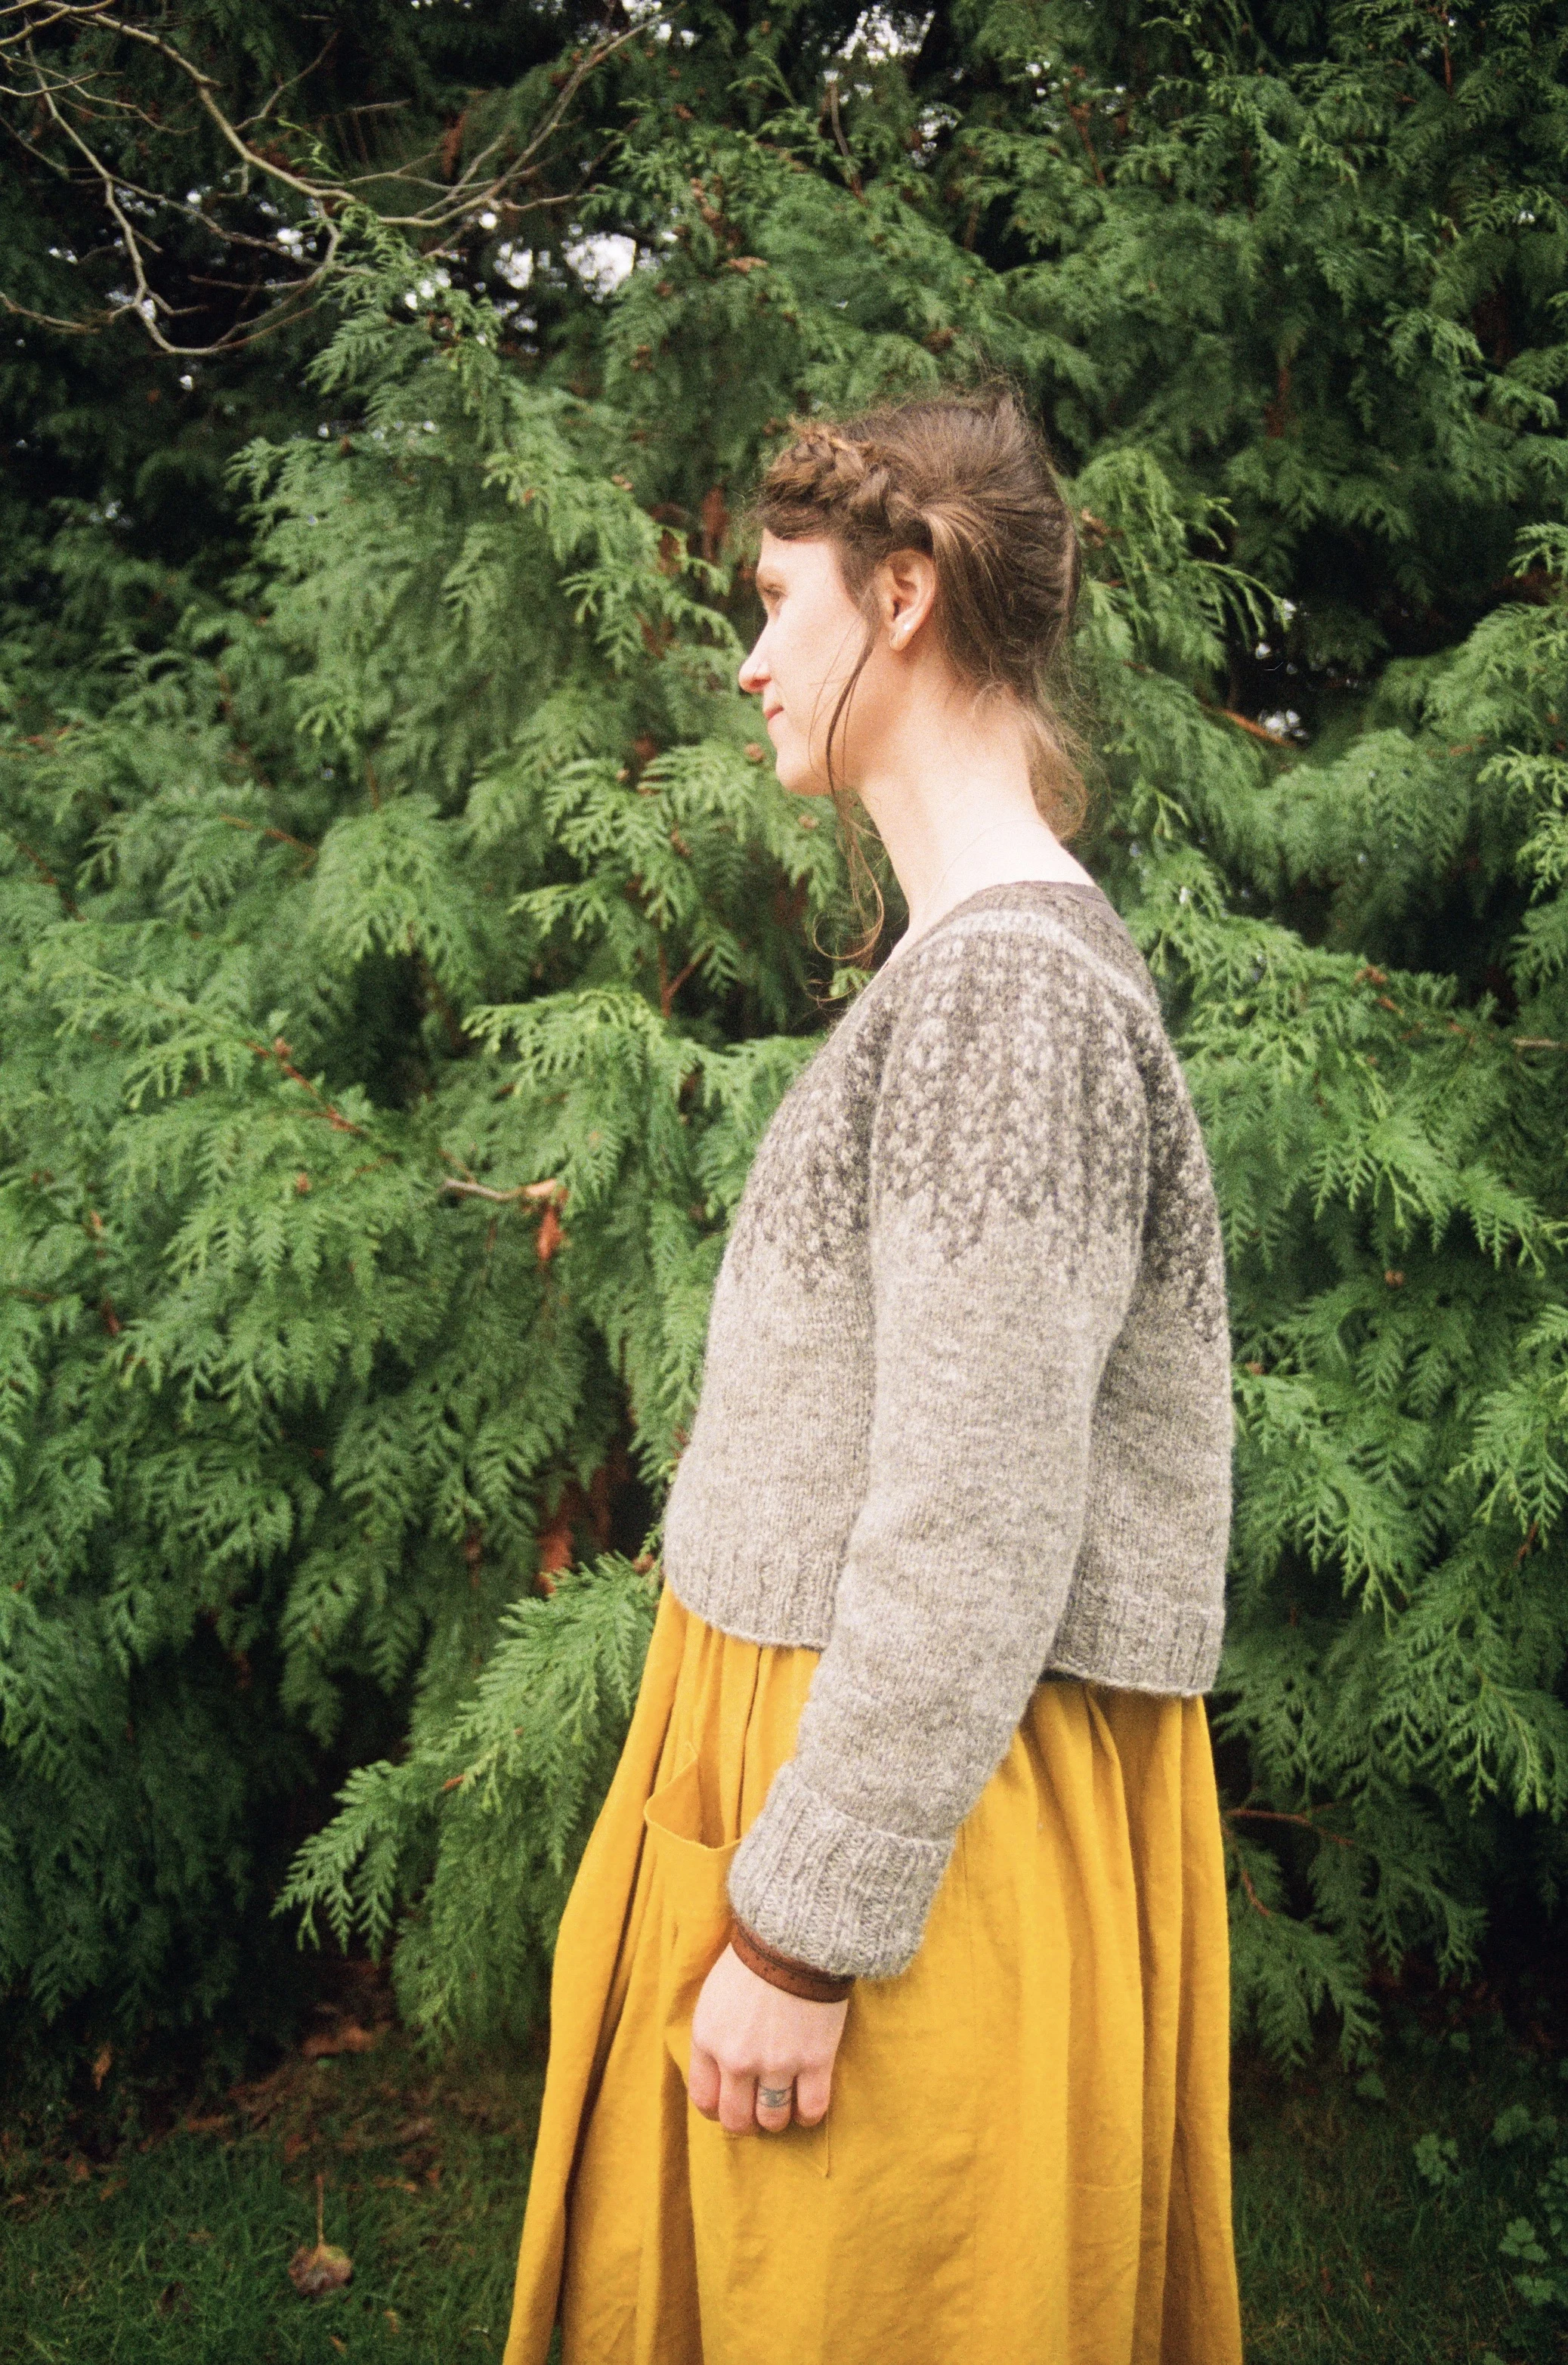
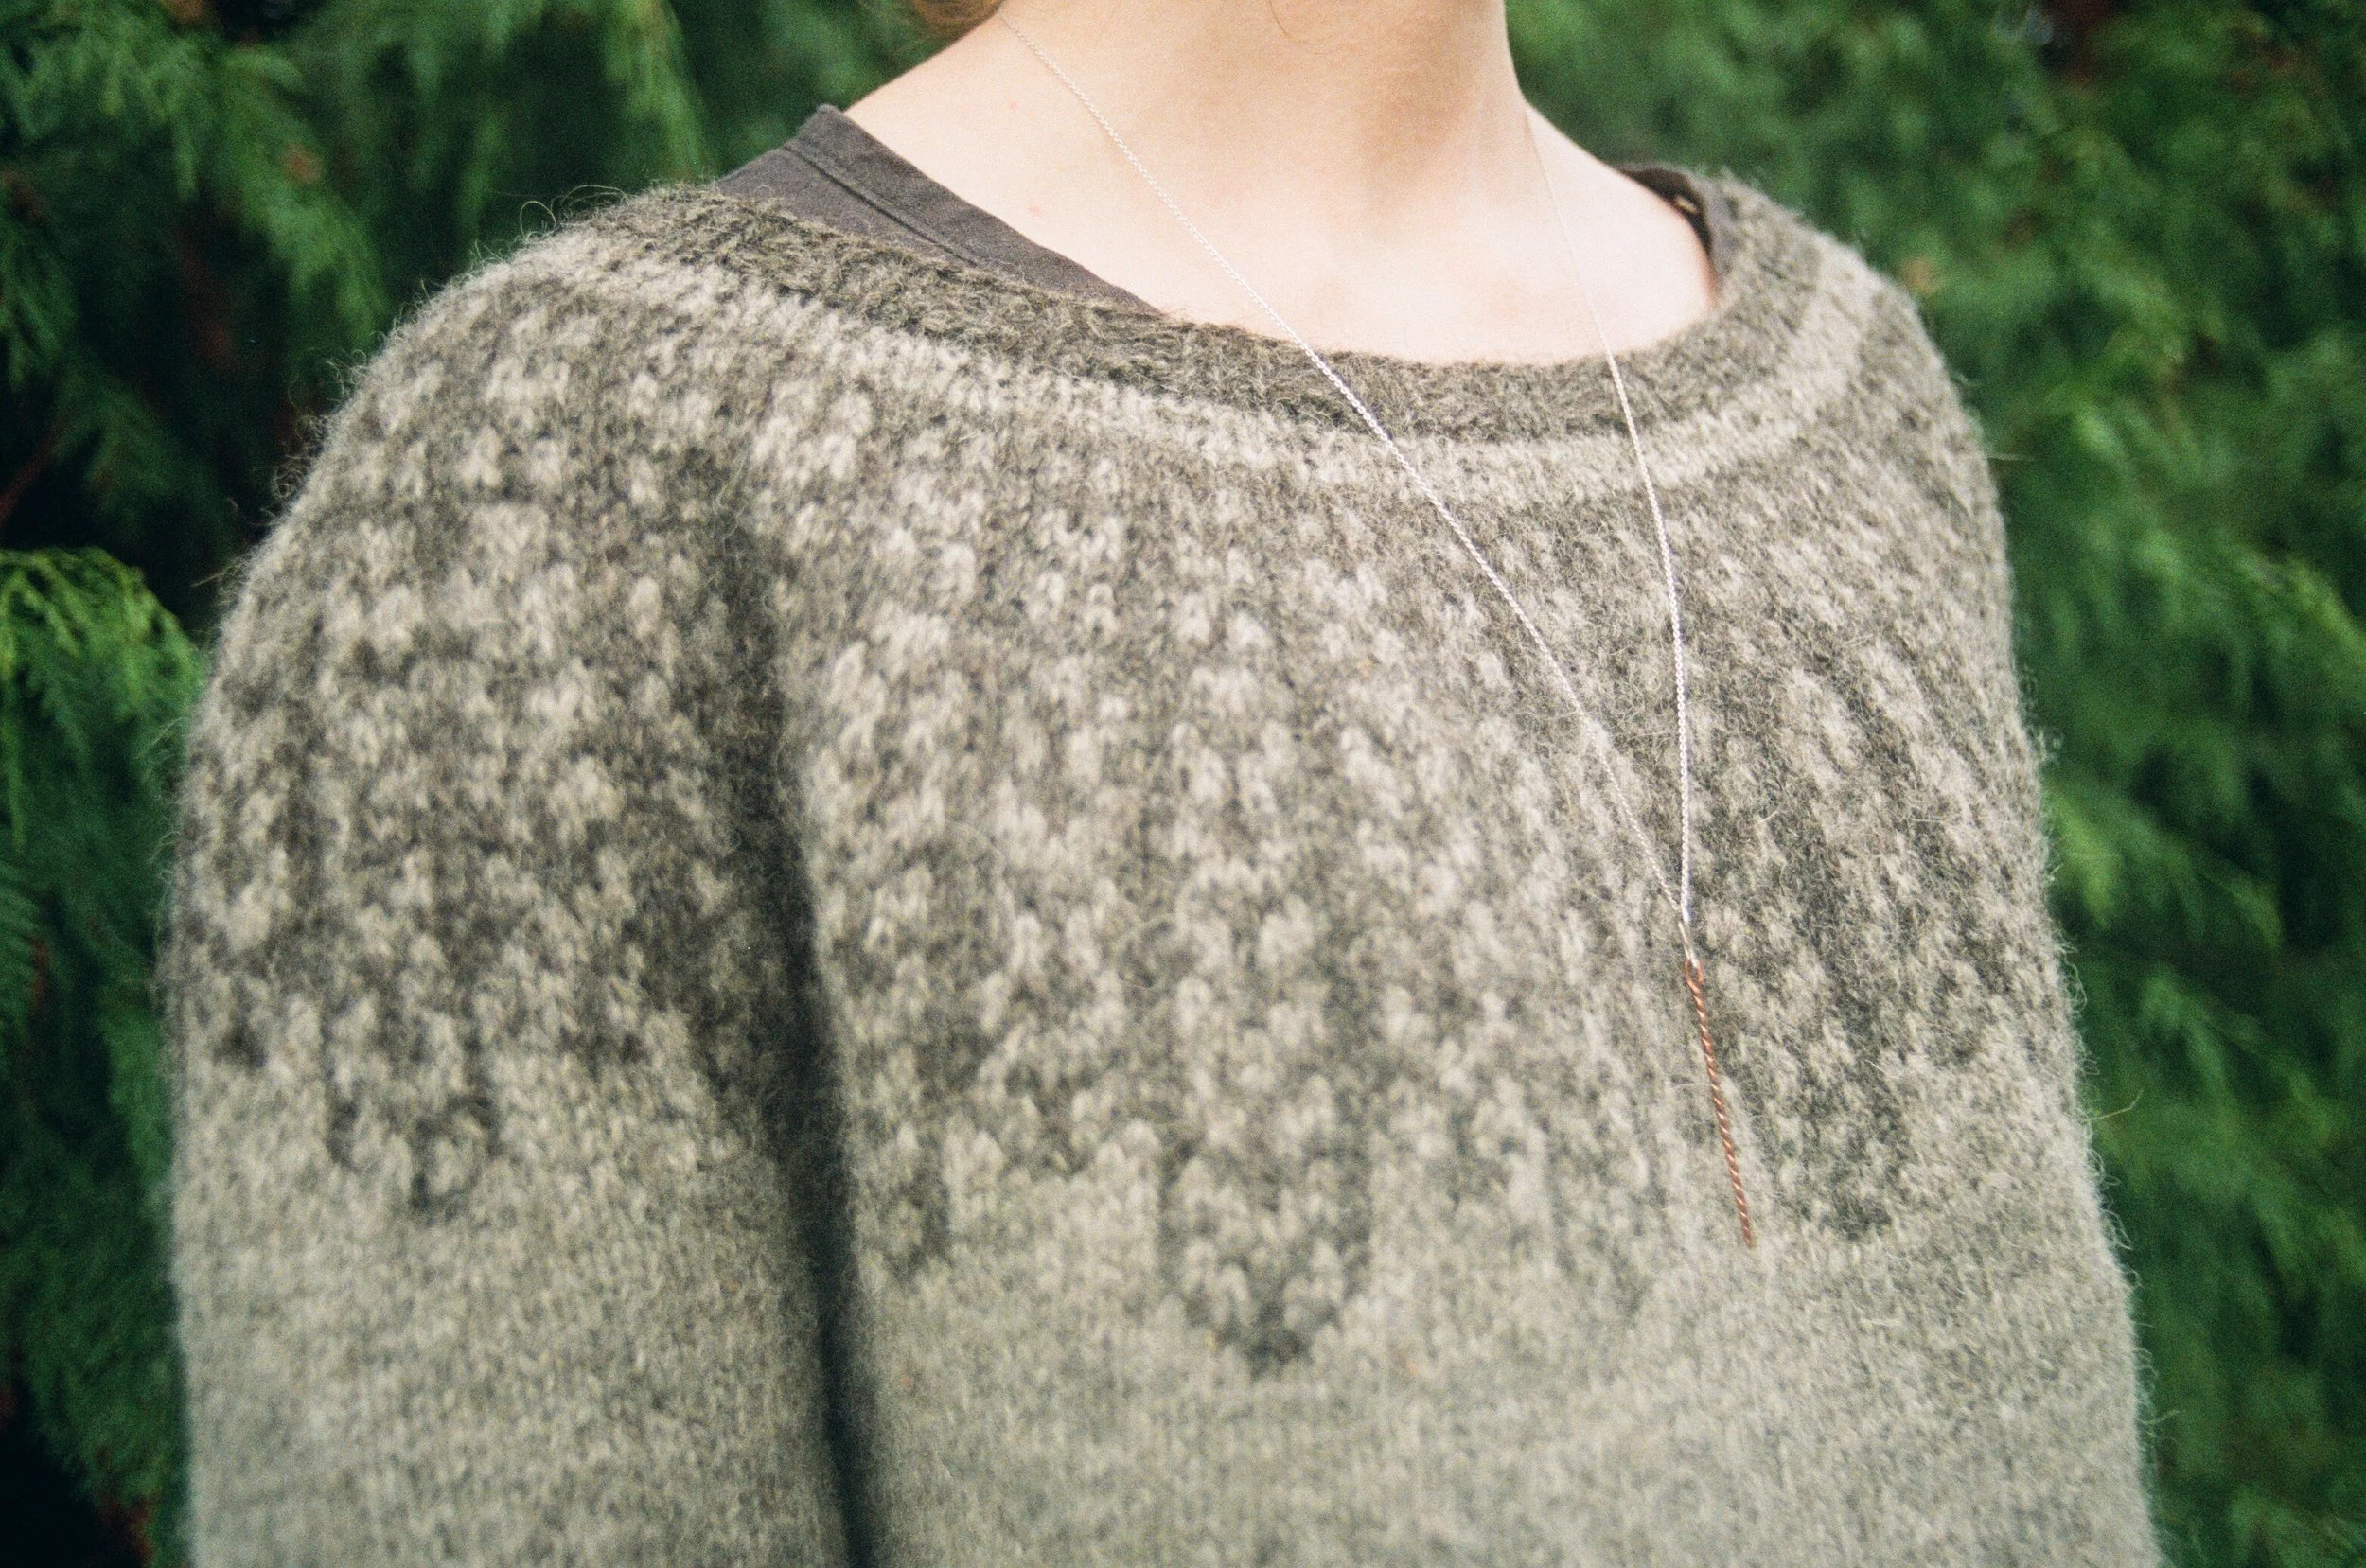
The shawl I’m wearing in some of these shots is Platinum or Gold, that gorgeous tapestry needle necklace is by Kristan MacIntyre, and my wonderful hexagon earrings (check out the first photo) are by Betsy Farmer Designs.
Want to read more about Dissent? Check out my previous blog posts:
Prepping for Dissent: Sizing, Yarn, and Swatching